DIY Garage Shut-Off Valve Installation: Empowering Homeowners With Control And Safety
Wrench It Up > Academy > DIY > DIY Garage Shut-Off Valve Installation: Empowering Homeowners With Control And Safety
Taking control of your garage’s water supply is not only convenient but also essential for maintaining a safe and functional space. With a DIY approach, homeowners can easily install a shut-off valve in their garage, providing them with increased control and added safety.
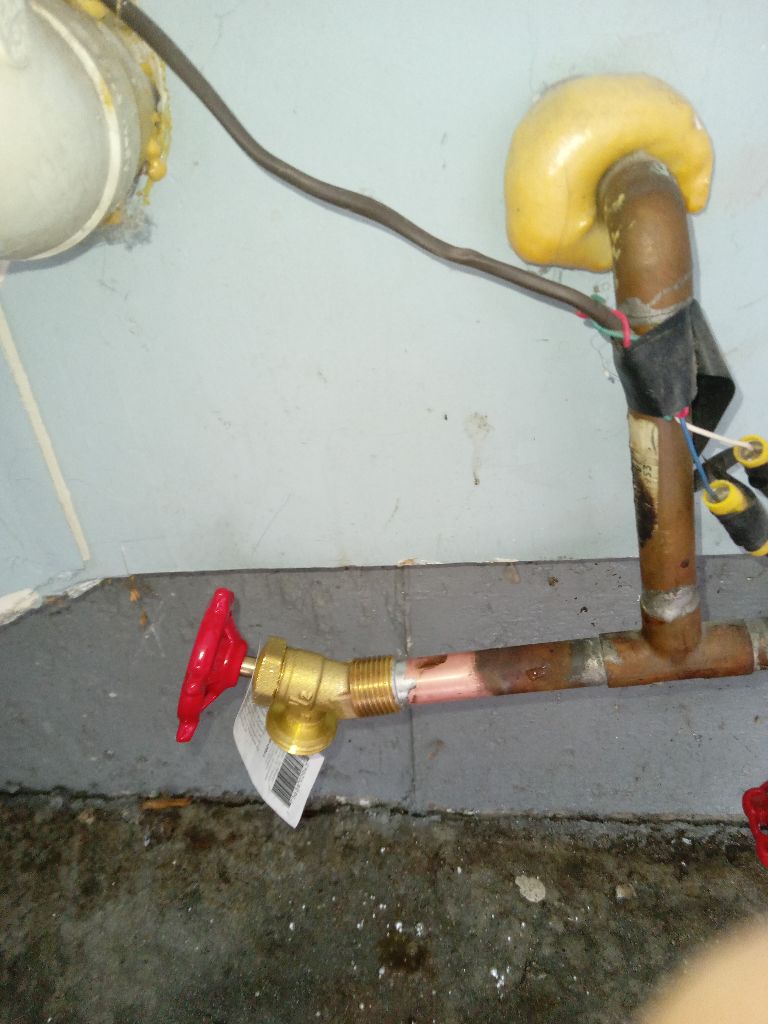
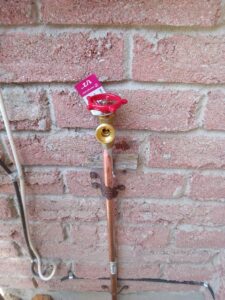
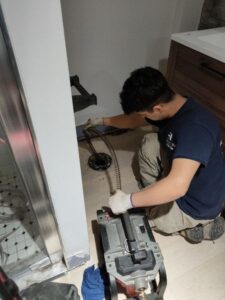
To begin, gather the necessary tools such as a pipe wrench, Teflon tape, and a shut-off valve kit. Locate the main water line entering the garage and turn off the water supply. Use a pipe cutter to carefully cut the pipe where you want to install the shut-off valve.
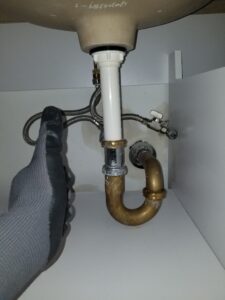
Next, prepare the pipe ends by cleaning and debarring them. Apply Teflon tape to the threads of the valve, ensuring a tight seal. Connect the valve to the pipe ends, using the pipe wrench to securely tighten the fittings.
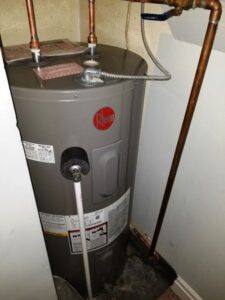
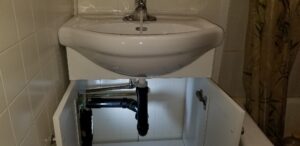
Once the valve is in place, turn on the main water supply to test for any leaks. If everything is secure, you can now enjoy the newfound control and safety offered by your garage shut-off valve.
By following this empowering DIY guide, homeowners can confidently install a garage shut-off valve, giving them control over the water supply and ensuring the safety of their garage space.
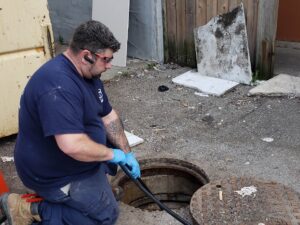
If you may need to call a professional plumber in Toronto, we are here to help. Just give us a call now!