Changing a toilet filler valve is a DIY project that can save you money and time. A faulty filler valve can cause a toilet to run constantly or not fill up enough, resulting in high water bills and inconvenience. The following steps outline how to change a toilet filler valve by you.
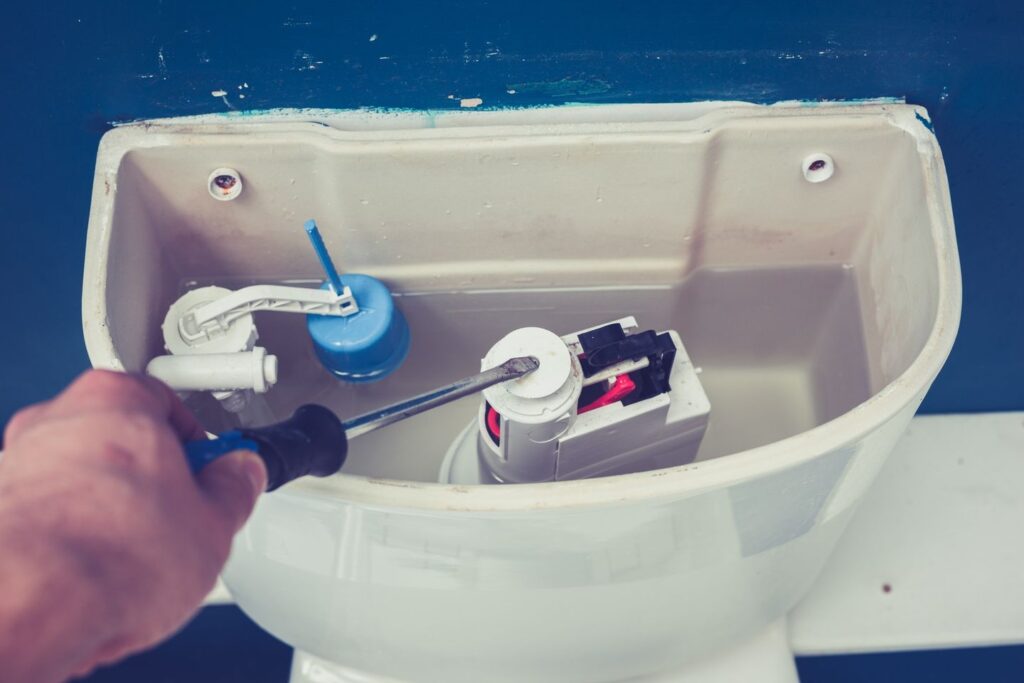
First, turn off the water supply and flush the toilet to empty the tank.
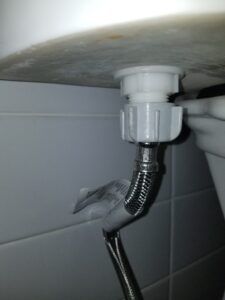
Next, disconnect the supply line and unscrew the old filler valve from the bottom of the tank.
Install the new filler valve by following the manufacturer’s instructions and adjusting the height to fit your toilet. Reattach the supply line and turn the water supply back on.
Test the new filler valve by flushing the toilet and adjusting the float to ensure the tank fills to the correct level.
It is important to use caution and follow safety guidelines when working with plumbing fixtures. If you are unsure about any aspect of the process, consult a professional plumber. With the right tools and knowledge, changing a toilet filler valve can be a straightforward DIY project. Regular maintenance and replacement of plumbing fixtures can help prevent future problems and prolong the life of your toilet.
In conclusion, by following these steps and exercising caution, you can successfully change a toilet filler valve by yourself and save money on professional repairs.
If you may need to call a professional plumber in Toronto, we are here to help. Just give us a call now!