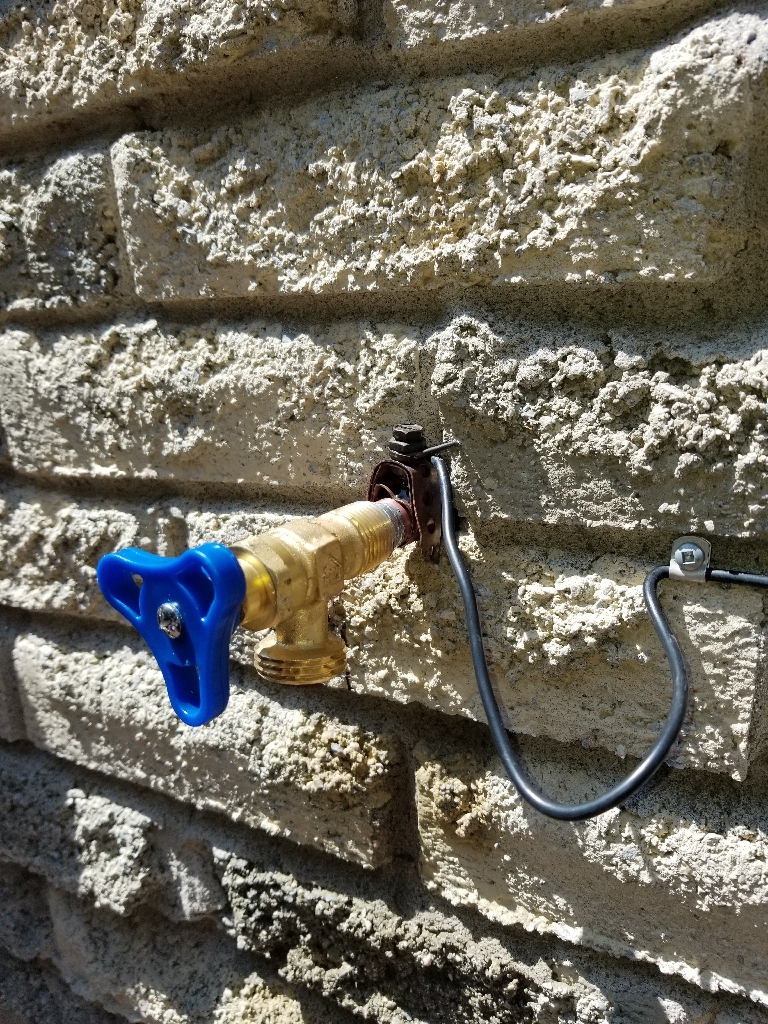
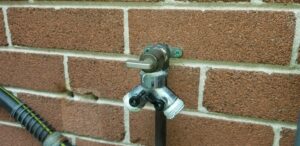
Replacing an exterior hose bib is relatively simple and straightforward. You will need a few tools: adjustable wrench, a hacksaw, Teflon tape, plumber’s putty or silicone sealant, and the replacement hose bib. It is helpful to know your local plumbing code requirements when replacing a hose bib or any other plumbing fixture.
First, turn off the water supply to the hose bib. This can usually be done at a nearby valve or shut-off switch.
Next, unscrew the old hose bib from the wall and remove it. You may need an adjustable wrench for this step. Use a hacksaw to cut through any excess pipes sticking out from the wall.
Unless your local plumbing code requires it, you do not need an actual plumber to install a new exterior hose bib. The replacement hose bib should come with instructions on how to properly install it into the exterior wall of your home, but generally the process is as follows:
First, apply some Teflon tape onto the male threads of the new hose bib.
Next, apply plumber’s putty or silicone sealant to a portion of the outside wall where you will be installing your new hose bib. Make sure to leave enough room for the replacement hose bib to fit properly.
Finally, carefully screw in the new hose bib and make sure it is installed securely.
Once you have finished installing your new exterior hose bib, turn on the water supply and check for any leaks.
If you may need to call a professional plumber in Toronto, we are here to help. Just give us a call now!