Wrench It Up > Academy > DIY > Revamp Your Shower Routine: A DIY Guide To Replacing Your Shower Head And Enhancing Your Daily Cleanse

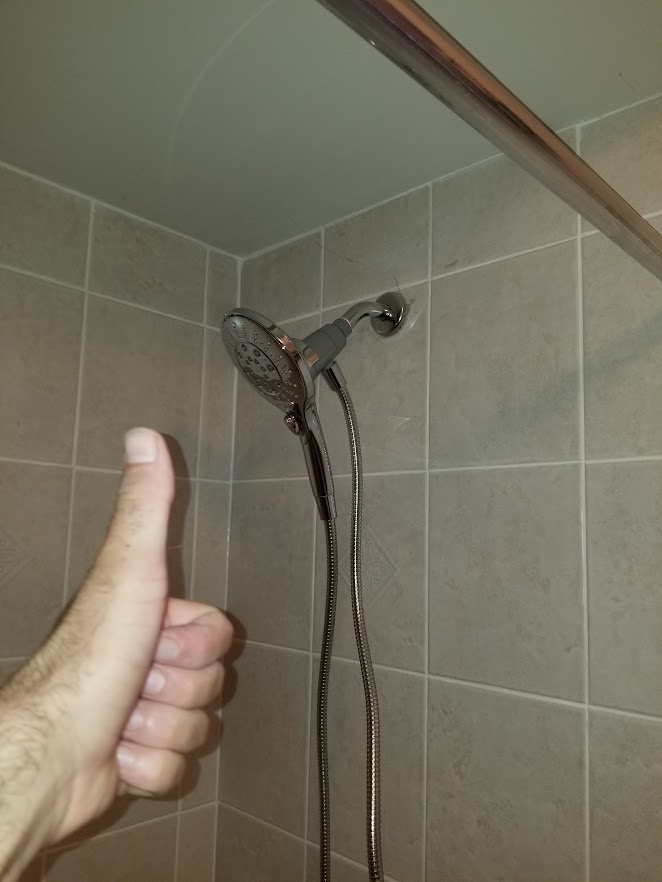
The first step in replacing your shower head is to choose the right type of shower head for your needs, whether it is a rain shower head or a handheld shower head.
Once you have selected the perfect shower head, the next step is to gather the necessary tools, including pliers, Teflon tape, and a wrench.
With the tools in hand, you can begin the installation process by removing your old shower head and cleaning the threads on the shower arm.
Next, apply Teflon tape to the threads on the shower arm to create a watertight seal and prevent leaks.
After wrapping the Teflon tape, you can screw on the new shower head and use pliers or a wrench to tighten it securely.
Finally, turn on the water and check for any leaks or issues with water pressure.
By following these five simple steps, you can upgrade your bathroom and enjoy a more luxurious and refreshing shower experience.
If you may need to call a professional plumber in Toronto, we are here to help. Just give us a call now!
Wrench It Up – WIN YOUR HEART!
* By submission, you agree to receive email marketing from Wrench It Up plumbing and mechanical regarding our products and services.
If you are in need of an emergency plumbing service, please directly call us at 416-800-5050. We are 24/7 available throughout the year.