If you have a leaky tub faucet, do not despair. Although it may seem like a daunting task, fixing a leaking tub faucet is actually quite easy. With a few simple tools and a little bit of know-how, you can fix your leaky tub faucet in no time.
Here are seven easy steps to fix a leaking tub faucet:
1. Turn off the water. Before you do anything, make sure to turn off the water to your bathroom. This will prevent any further damage from occurring.
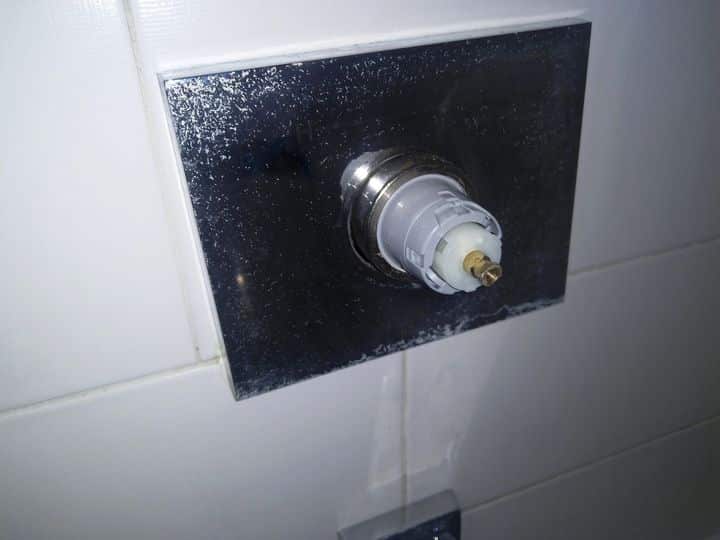
2. Remove the handle. Once the water is turned off, you can remove the handle of the faucet. To do this, simply unscrew the handle from the base.
3. Inspect the O-ring. Once the handle is removed, you will be able to see the O-ring. This is a small rubber ring that sits between the handle and the base of the faucet. If this O-ring is damaged, it will need to be replaced.
4. Replace the O-ring. If the O-ring is damaged, simply remove it and replace it with a new one.
5. Reassemble the faucet. Once the O-ring has been replaced, you can reassemble the faucet. Be sure to screw the handle back on tightly.
6. Turn on the water. Now, you can turn the water back on to your bathroom.
7. Test the faucet. Finally, test the faucet to make sure it is no longer leaking.
If you may need to call a professional plumber in Toronto, we are here to help. Give us a call to request a service now!