Once you have identified the type of diverter spout you need to replace, it is time to get started on the replacement process.
First, shut off the main water supply and open any faucets connected to the spout so that no water remains in the pipes. Then, remove any screw-on parts of your current diverter spout and set them aside in a safe place.
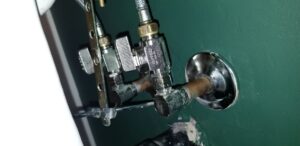
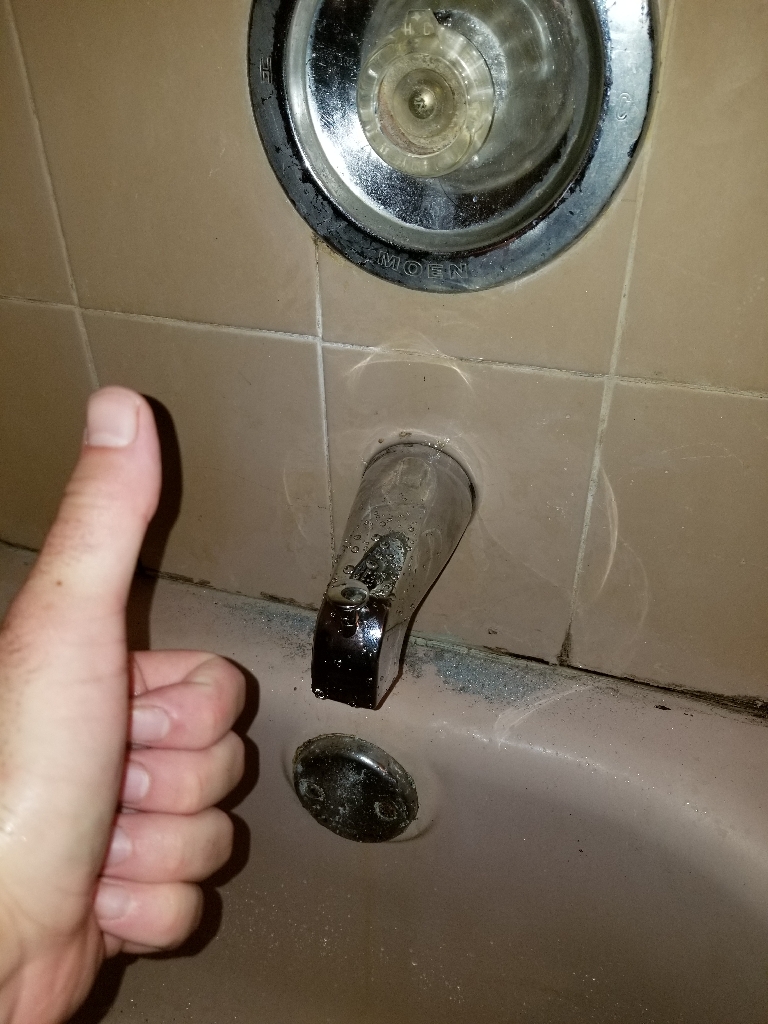
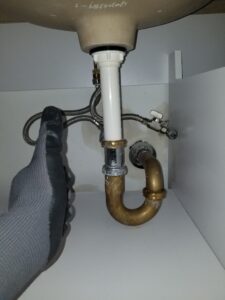
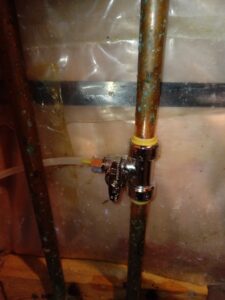
Next, use an adjustable wrench to carefully unscrew the entire old diverter spout from the wall. Carefully inspect the area where the spout was attached for any rust or corrosion and make sure that it is completely clear of any debris before proceeding with installation of the new spout.
Now, it is time to install the new diverter spout. Insert the threaded end of the new spout into the wall and use an adjustable wrench to secure it in place. Make sure that the seal is tight so that no water can escape from this area.
Finally, reassemble the screw-on parts of the new diverter spout and then turn on the main water supply. Test the new spout to make sure it is operating correctly, and you are all set!
If you may need to call a professional plumber in Toronto, we are here to help. Just give us a call now!