DIY Shower Cartridge Replacement: How To Swap It Out Without Calling A Plumber?
Wrench It Up > Academy > DIY > DIY Shower Cartridge Replacement: How To Swap It Out Without Calling A Plumber?
A shower cartridge is a small part inside your shower valve that controls the flow of water. Over time, shower cartridges can become worn or damaged, leading to leaks or poor water pressure. Fortunately, replacing a shower cartridge is a relatively simple DIY project that can be done without the need for a plumber.
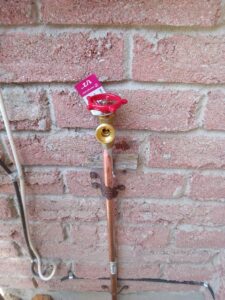
First, turn off the water supply to your shower. Most homes have a shut-off valve located near the bathroom or in the basement.
Next, remove the handle of your shower valve using a screwdriver or Allen wrench.
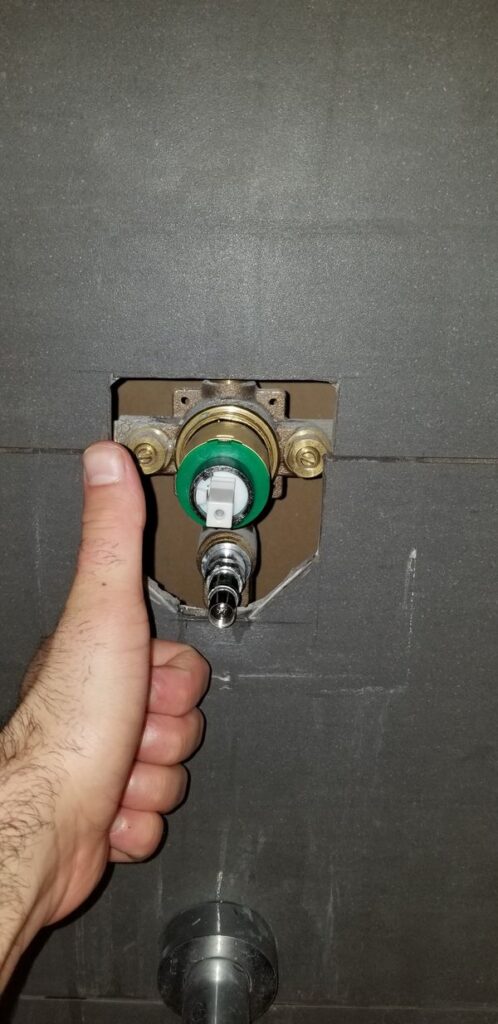
Once you have removed the handle, use pliers to remove the old shower cartridge.
Take the old cartridge to your local hardware store to ensure you purchase the correct replacement cartridge.
Before installing the new cartridge, clean the inside of the valve with a cloth to remove any debris or buildup.
Install the new cartridge by pushing it into place with your fingers, then replace the handle and tighten any screws or bolts.
Turn the water supply back on and test the shower for any leaks or issues with water pressure.
If everything looks and feels good, your shower cartridge replacement is complete, and you can enjoy your shower once again.
If you may need to call a professional plumber in Toronto, we are here to help. Just give us a call now!