Wrench It Up > Academy > DIY > Pro-Style Kitchen Faucet Installation: A DIY Guide For Polished Results

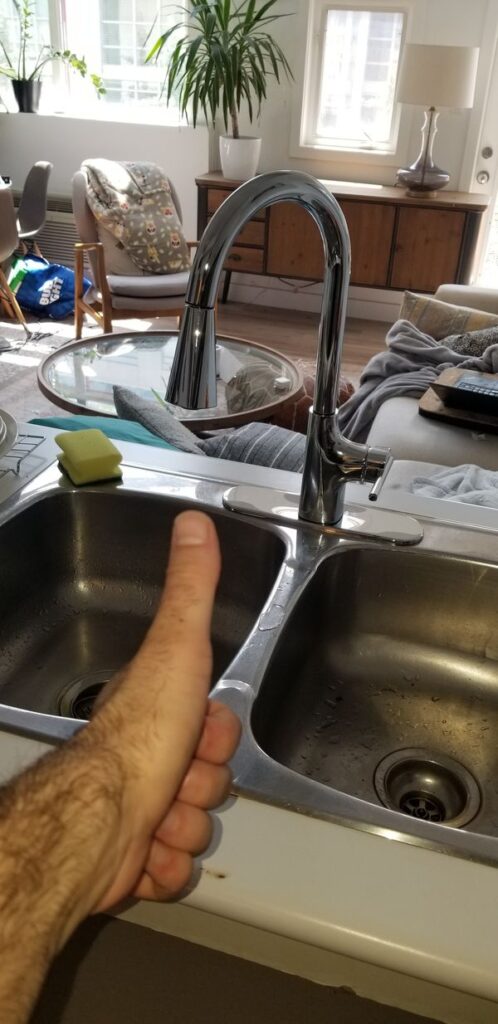
Upgrading your kitchen faucet is a rewarding DIY project that can elevate the functionality and aesthetics of your cooking space. With our step-by-step guide, you can achieve a professional-style installation and enjoy polished results.
Before you begin, ensure you have all the necessary tools, including an adjustable wrench, screwdrivers, plumber’s tape, and a basin wrench.
Shut off the water supply to your kitchen sink before proceeding. Turn on the faucet to drain any remaining water and relieve pressure.
Carefully disassemble and remove the existing faucet. Use the basin wrench to loosen and disconnect the water supply lines, and detach the faucet from the sink.
Clean the sink surface thoroughly to remove any debris or old caulking. Apply plumber’s tape to the threaded faucet stems to ensure a watertight seal.
Follow the manufacturer’s instructions to install the new faucet. Insert the faucet stems through the mounting holes, secure them with nuts from below, and connect the water supply lines.
Once everything is securely in place, turn on the water supply and check for any leaks. Make adjustments as needed and apply a bead of silicone caulking around the base of the faucet to prevent water seepage.
If you may need to call a professional plumber in Toronto, we are here to help. Just give us a call now!
Wrench It Up – WIN YOUR HEART!
* By submission, you agree to receive email marketing from Wrench It Up plumbing and mechanical regarding our products and services.
If you are in need of an emergency plumbing service, please directly call us at 416-800-5050. We are 24/7 available throughout the year.