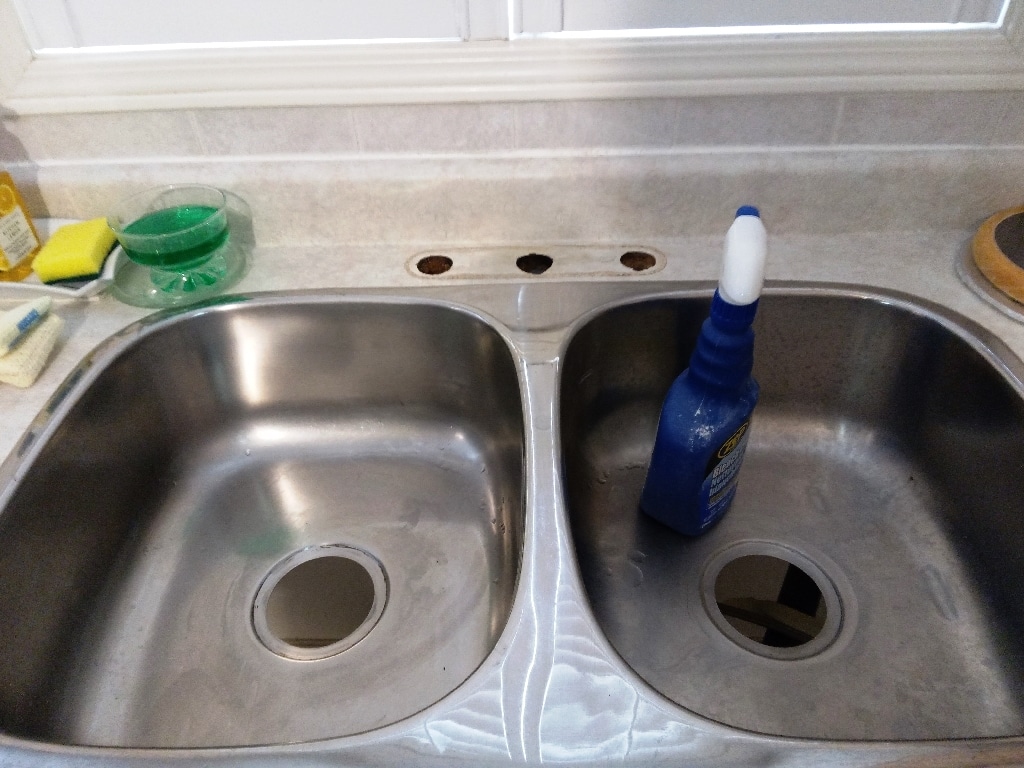
Once you are ready to install a new kitchen sink strainer, there are several steps that need to be taken.
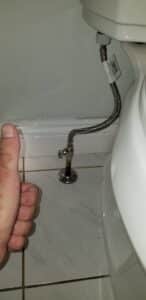
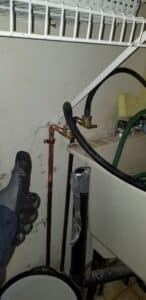
First, turn off the water supply and shut off the valves underneath the sink.
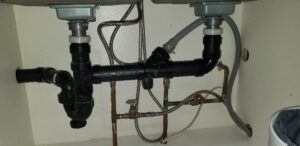
Then, use an adjustable wrench to unscrew the old strainer from the drainpipe below it.
When you have removed the old strainer, the drainpipe should be cleaned before installing a new one. Once the pipe has been cleared of debris, use plumber’s putty to create a tight seal between the strainer and the drainpipe.
Then, use an adjustable wrench to securely fasten the strainer in place and reconnect the water supply valves.
Finally, test for any leaks by running the water for a few minutes and making sure that there are no signs of leakage. If everything is working properly, you will have successfully replaced your kitchen sink strainer.
Once you have completed these steps, it is important to maintain your new kitchen sink strainer regularly. Use a brush or cloth to clean away any debris that may have collected in the drainpipe, and inspect the strainer periodically for any signs of wear or tear.
Replacing your kitchen sink strainer every few years can help ensure that it continues to work properly and prevents costly repairs down the line.
By following these steps, you can easily replace your kitchen sink strainer and keep it in good condition for many years to come. With regular maintenance and cleaning, your kitchen sink strainer will remain an important part of your home’s plumbing system for years to come.
If you may need to call a professional plumber in Toronto, we are here to help. Just give us a call now!