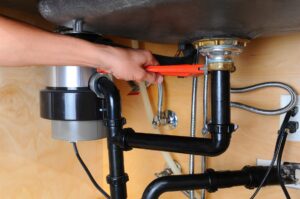
Step 2: Locate the hot and cold water supply pipes under the kitchen sink. They should be visible and run up to the faucet.
Step 3: Use the pipe cutter to cut the water supply pipe in the location where you want to install the shut-off valve. Be sure to measure and mark the location first to ensure that the valve is installed in the correct place.
Step 4: Use the adjustable wrench to remove any burrs or rough edges from the cut end of the pipe.
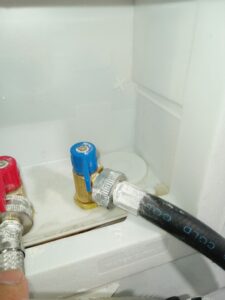
Step 5: Wrap Teflon tape around the threads of the shut-off valve to create a tight seal.
Step 6: Use the adjustable wrench to tighten the shut-off valve onto the cut end of the pipe. Be careful not to over tighten, as this can damage the pipe or valve.
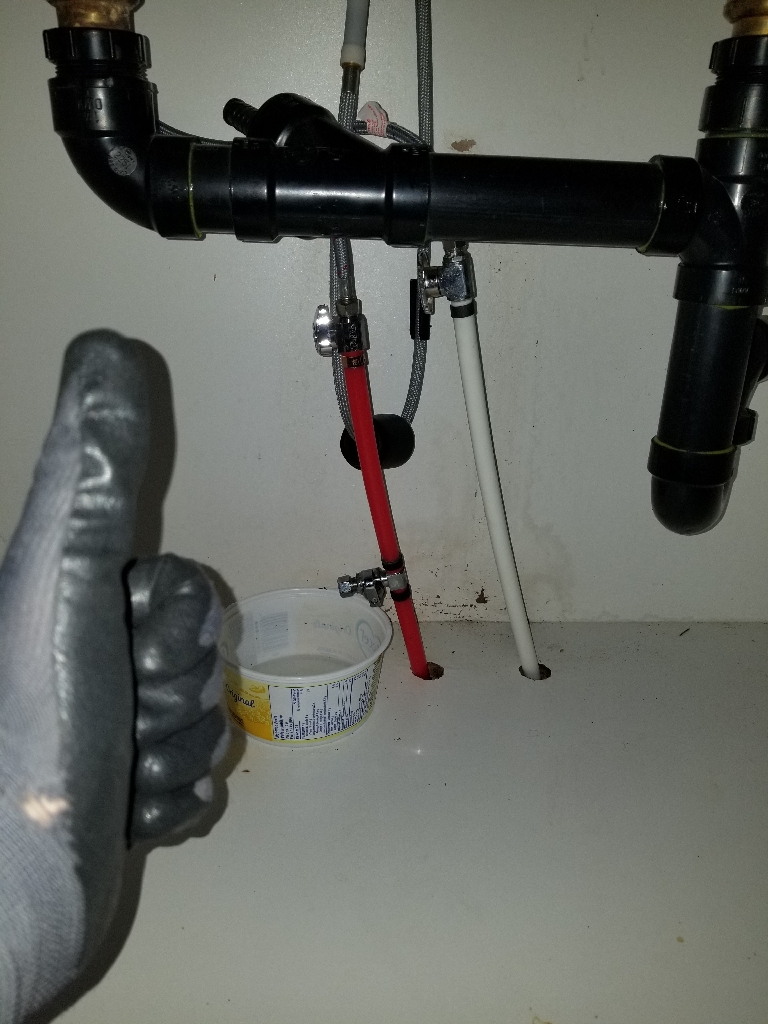
Step 7: Turn on the water supply to check for any leaks. Use a bucket or container to catch any excess water that may come out of the pipe.
Step 8: Once you have confirmed that the shut-off valve is installed and functioning properly, turn off the water supply and replace any items that were moved or disconnected during the installation process.
If you may need to call a professional plumber in Toronto, we are here to help. Just give us a call now!