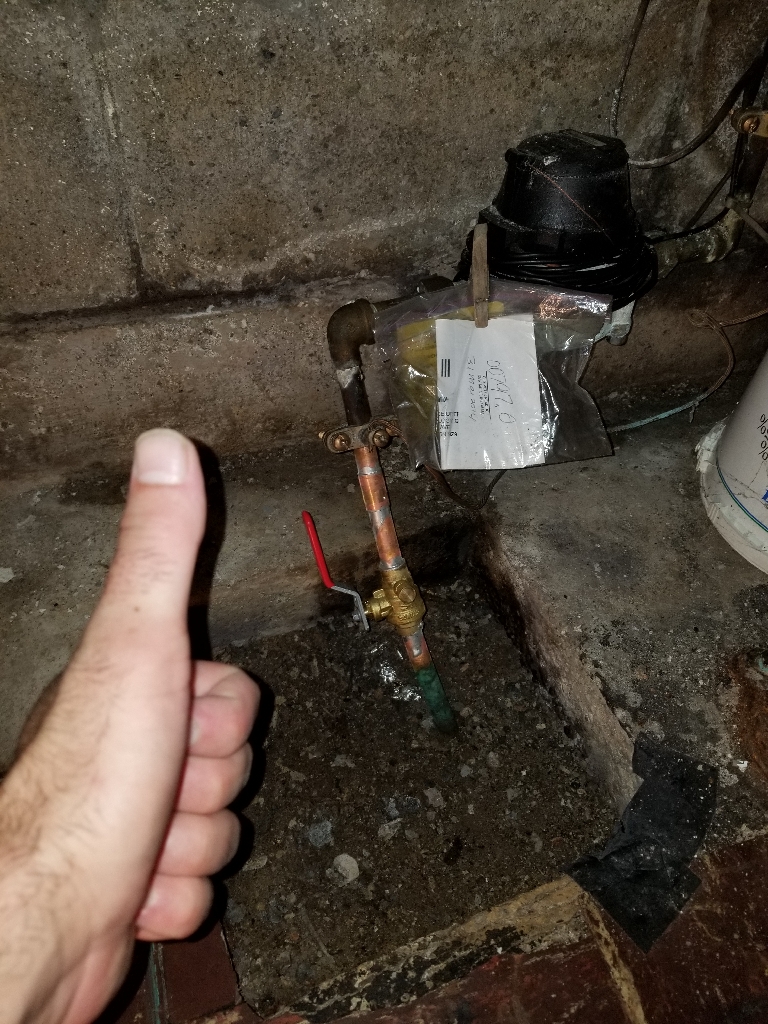
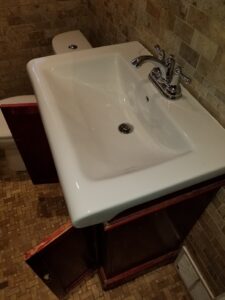
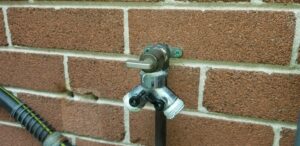
Replacing a shut-off valve is a relatively simple task that can be completed with a few basic tools. Here are the steps to follow:
1. Turn off the water supply: Locate the main water valve and turn it off to cut off the water supply to the valve that needs to be replaced.
2. Drain the pipes: Open a faucet on the lower level of the house to drain the remaining water from the pipes.
3. Remove the old valve: Use a wrench to remove the old valve from the pipe. If it is a compression fitting, loosen the nut with a wrench and slide the valve off. If it is a soldered fitting, heat the joint with a torch to melt the solder and then use pliers to remove the valve.
4. Clean the pipes: Use a wire brush to clean the end of the pipe where the shut-off valve was removed to ensure a clean surface for the new valve to be installed.
5. Install the new valve: Slide the new valve onto the pipe and tighten the nut with a wrench if it is a compression fitting. If it is a soldered fitting, apply heat to the joint and use a soldering tool to create a new joint.
6. Turn on the water supply: Turn on the main water valve and open the faucet you previously opened to allow air to escape and water to flow through the pipes.
7. Check for leaks: Check the area around the new valve for any signs of leaks. If there are leaks, turn off the water supply and tighten the connections until the leaks stop.
If you may need to call a professional plumber in Toronto, we are here to help. Just give us a call now!