As the winter chill settles in, it is time to think about protecting your plumbing from the harsh elements. Freezing temperatures can wreak havoc on your pipes and cause costly damage. To ensure a trouble-free winter season, it is crucial to winterize your plumbing. This blog will guide you through the essential steps to safeguard your plumbing system from the cold. By following these recommendations, you can avoid the inconvenience and expense of frozen or burst pipes.
Why Winterizing Your Plumbing Matters
Winterizing your plumbing is a preventative measure to protect your pipes from freezing, expanding, and potentially bursting during the cold winter months. This process is vital for both residential and commercial properties.
Preventing frozen pipes can save you from costly repairs, property damage, and the inconvenience of disrupted water supply. It is a proactive step that every homeowner or business owner should take.
The winterization process involves a series of tasks that help maintain a consistent flow of water and ensure your plumbing system’s longevity. It is a small investment that can yield significant savings in the long run.
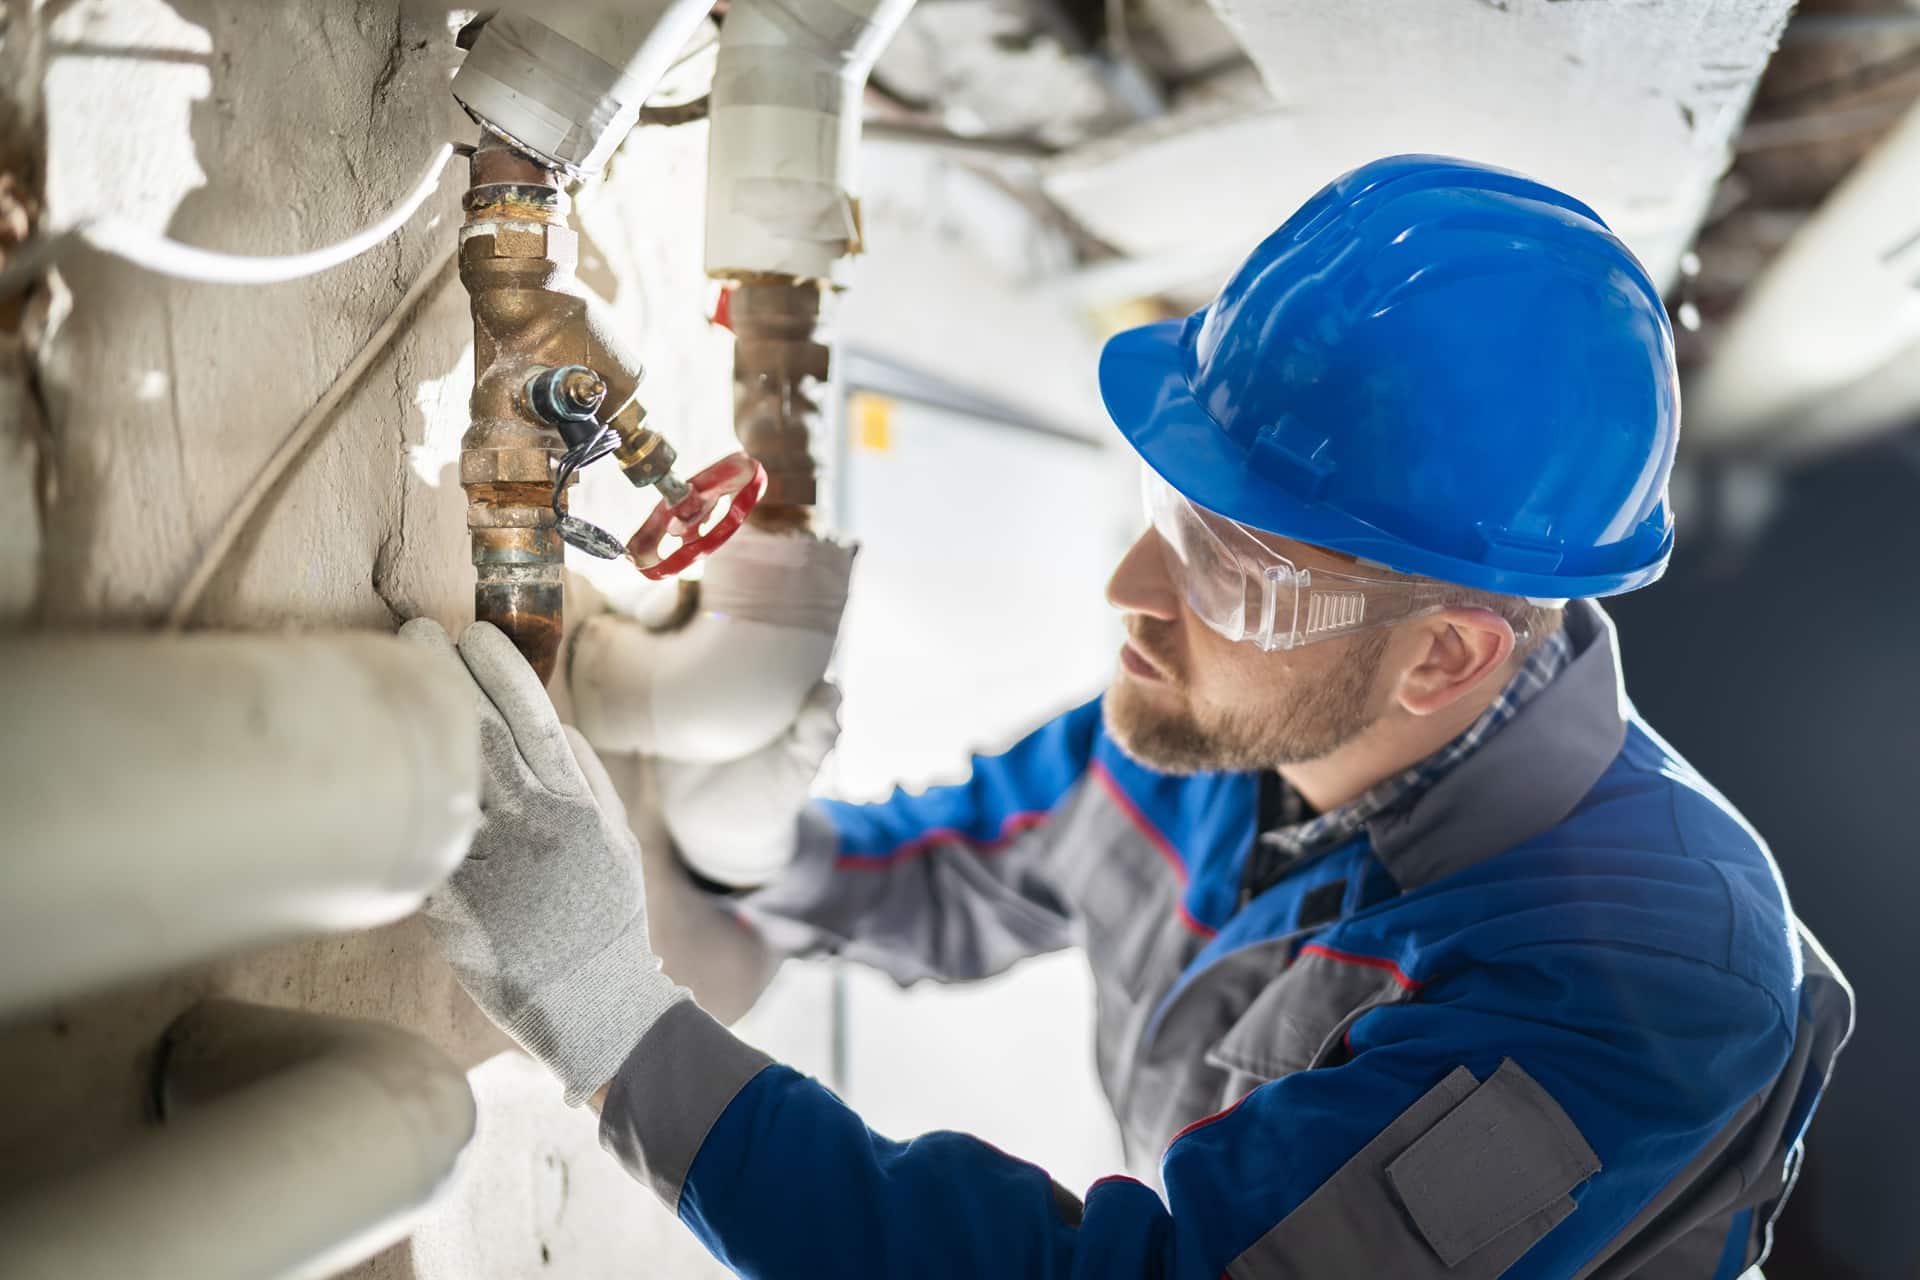
One of the most critical aspects of winterizing your plumbing is insulating your pipes. This step is essential in keeping your pipes warm and preventing them from freezing in sub-zero temperatures. Here is what you need to know:
1.1 Gather Your Supplies
Before you begin, gather the necessary supplies for pipe insulation. You will need:
Pipe Insulation: This is usually made of foam or fiberglass and is designed to fit around your pipes. Measure your pipes’ diameter to ensure you purchase the correct size.
Insulating Tape: This tape is used to secure the insulation around the pipes.
Scissors: You will need scissors to cut the insulation to the appropriate lengths.
1.2 Identify Vulnerable Pipes
Not all pipes in your plumbing system are equally vulnerable to freezing. Start by identifying the pipes most at risk. These are typically located in unheated areas, such as:
Exterior walls
Crawl spaces
Attics
Basements
Garages
1.3 Begin the Insulation Process
Now that you have identified the vulnerable pipes and gathered your supplies, it is time to start insulating:
Cut the Insulation: Use your scissors to cut the insulation into appropriate lengths. It should be long enough to cover the entire pipe section.
Wrap the Pipes: Wrap the insulation around the pipes, ensuring a snug fit. Use insulating tape to secure the ends and any overlapping sections.
Pay Attention to Elbows and Joints: Do not forget to insulate any elbows or joints in the pipes. These areas are also susceptible to cold air infiltration.
1.4 Additional Tips for Insulation
Keep It Dry: Ensure the insulation remains dry. Moisture can reduce its effectiveness.
Check for Gaps: Inspect the insulation for gaps or areas where it is not properly sealed. These can allow cold air to penetrate.
Examine the Seals: Look for gaps or cracks where pipes enter your home. Use caulk or sealant to close these openings, preventing drafts.
By insulating your pipes, you are taking a crucial step in winterizing your plumbing. This will significantly reduce the risk of frozen pipes and the associated problems they can cause during the winter months.
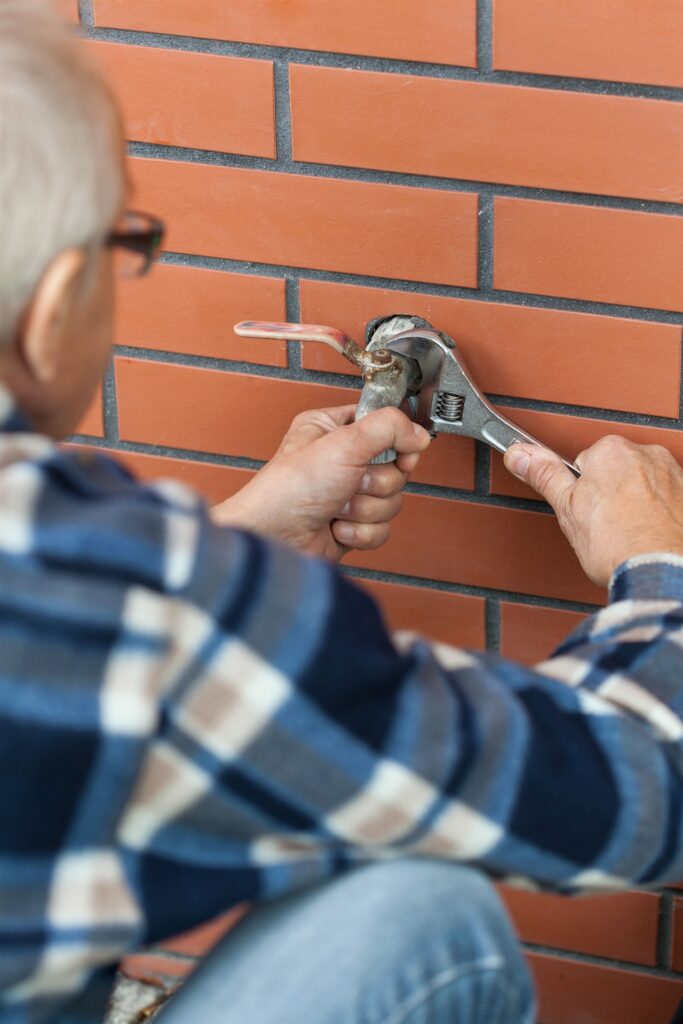
2. Protecting Outdoor Faucets
Winterizing your plumbing is crucial for avoiding costly damage during the cold season. One vital aspect of this preparation is safeguarding your outdoor faucets. Follow these essential steps to ensure your outdoor plumbing remains intact and functional, even in freezing temperatures.
2.1. Shut Off the Water Supply
Before the frosty weather arrives, turn off the water supply to your outdoor faucets. Locate the shut-off valve inside your home, typically in the basement or a utility closet. Once you have found it, close the valve to prevent water from reaching the outdoor faucets. This is a crucial step in protecting the pipes from freezing.
2.2. Drain the Faucets
After shutting off the water supply, open the outdoor faucets to drain any remaining water. Start by loosening the bleeder cap on the faucet. This will allow air to enter and water to escape. Next, open the faucet itself to let any trapped water flow out. Be sure to do this for all outdoor faucets, including hose bibs and any decorative water features.
2.3. Install Frost-Proof Faucets
If you live in an area with harsh winters, consider installing frost-proof faucets. These faucets are designed to prevent freezing by keeping the water deep within your home’s heated space. They have a longer stem that extends into the house, ensuring that the outdoor portion of the faucet drains completely when turned off. While this is a more involved step, it provides long-term protection.
2.4. Use Outdoor Faucet Covers
For an extra layer of protection, cover your outdoor faucets with insulated faucet covers. These covers are inexpensive and can be easily installed over your outdoor faucets. They help to keep the faucets and pipes warmer, reducing the risk of freezing.
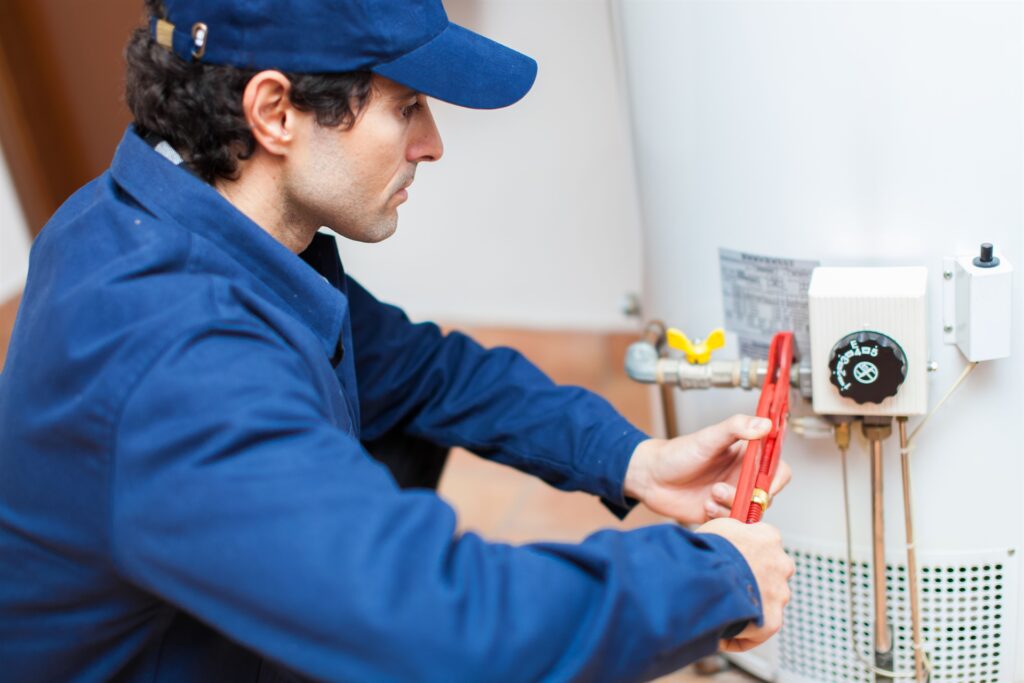
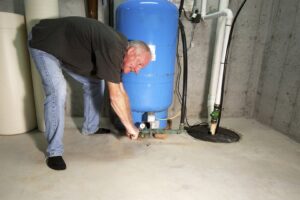
3. Servicing Your Water Heater
Your water heater works harder during the winter to provide warm water for your home. Ensure it is in top shape to avoid any disruptions during the chilly season. Here are steps to service your water heater for winter.
3.1. Check for Leaks
Begin by inspecting your water heater for any leaks. A leaking water heater can be a sign of internal damage or corrosion. If you notice any leakage, it is essential to address it promptly. Tighten any loose connections and, if necessary, consider contacting a professional plumber for repairs.
3.2. Flush the Tank
Over time, sediment can build up in your water heater’s tank, reducing its efficiency. To maintain optimal performance, flush the tank. Turn off the power or gas to the water heater and connect a hose to the drain valve. Drain a few gallons of water to remove sediment. This should be done periodically to keep your water heater functioning efficiently.
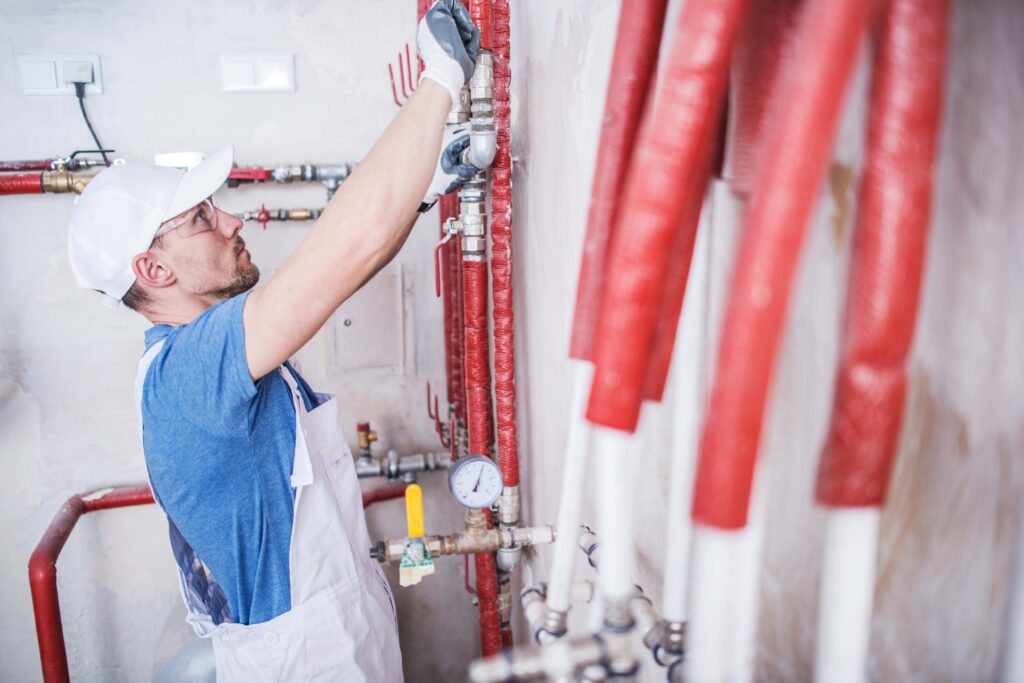
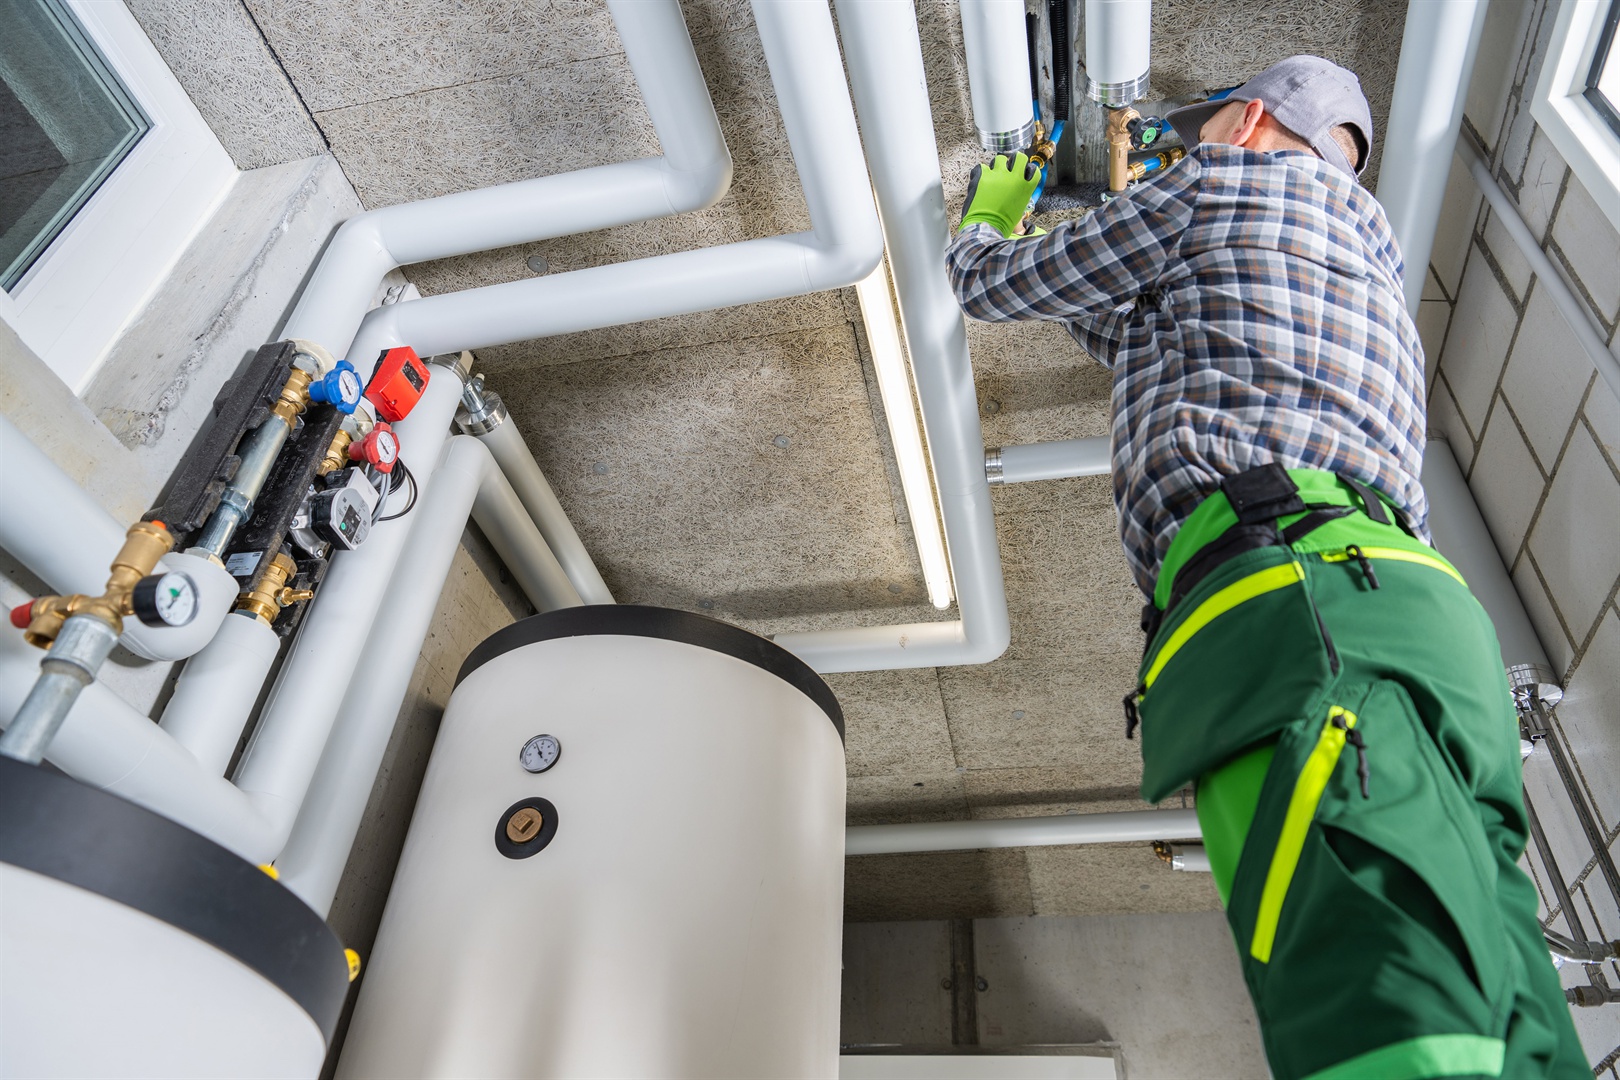
3.3. Insulate the Pipes
Insulating the hot water pipes connected to your water heater can help reduce heat loss, allowing the water to stay warmer for longer periods. You can use pipe insulation sleeves readily available at hardware stores for this purpose. Apply the insulation to both the hot and cold-water pipes, especially in unheated areas like basements and crawl spaces.
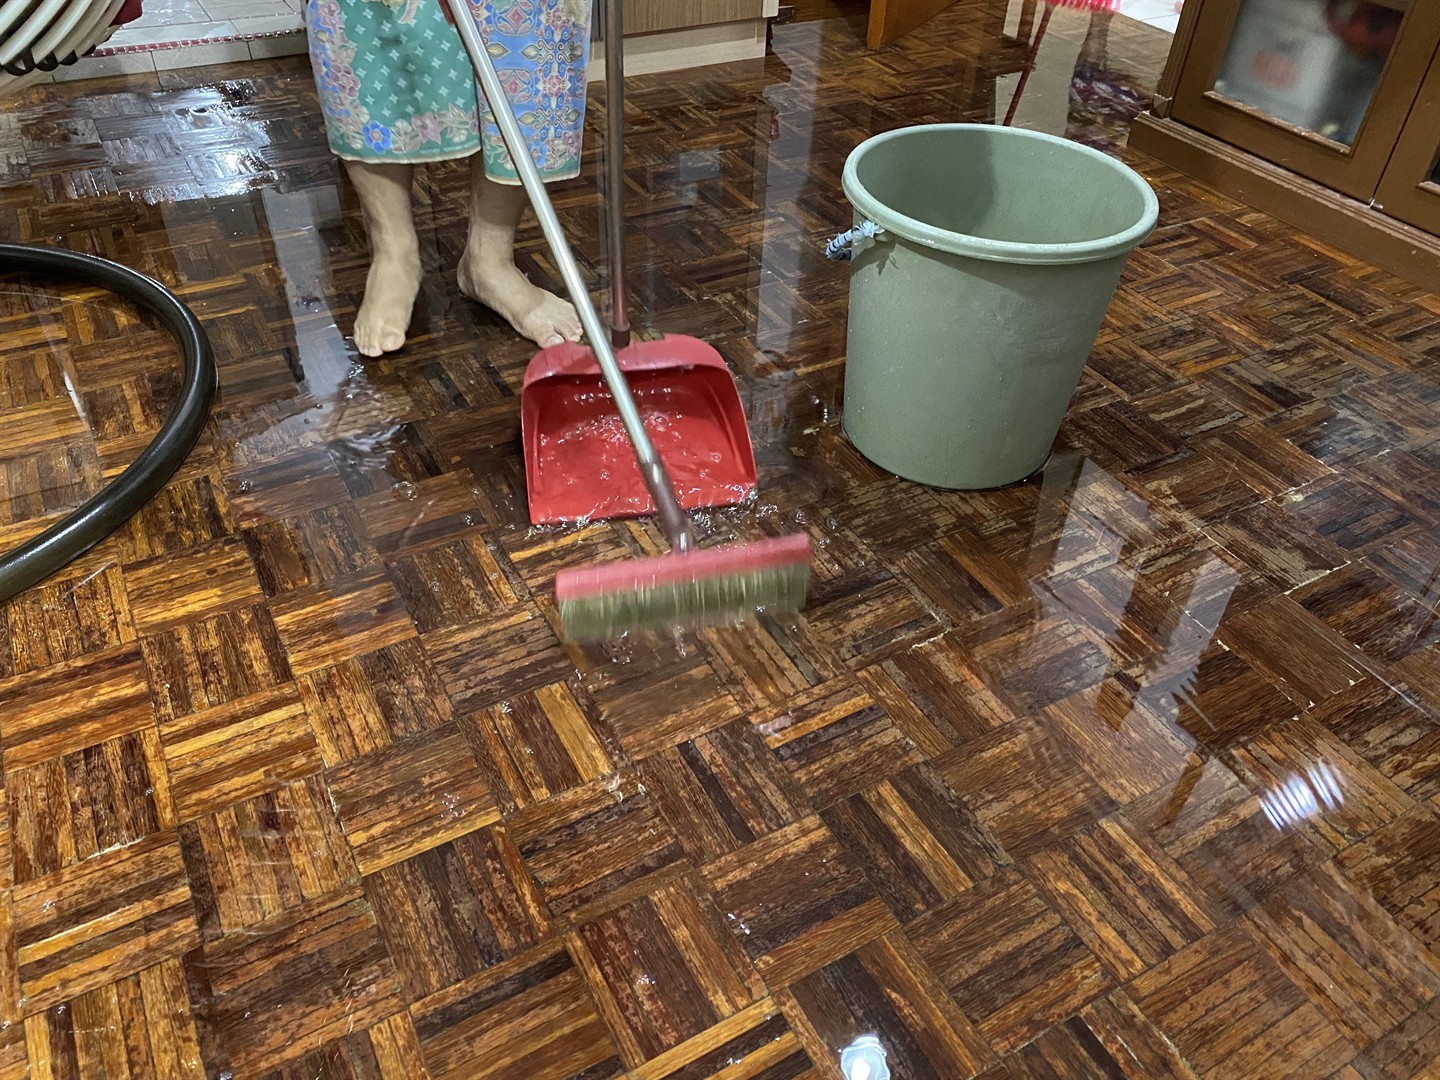
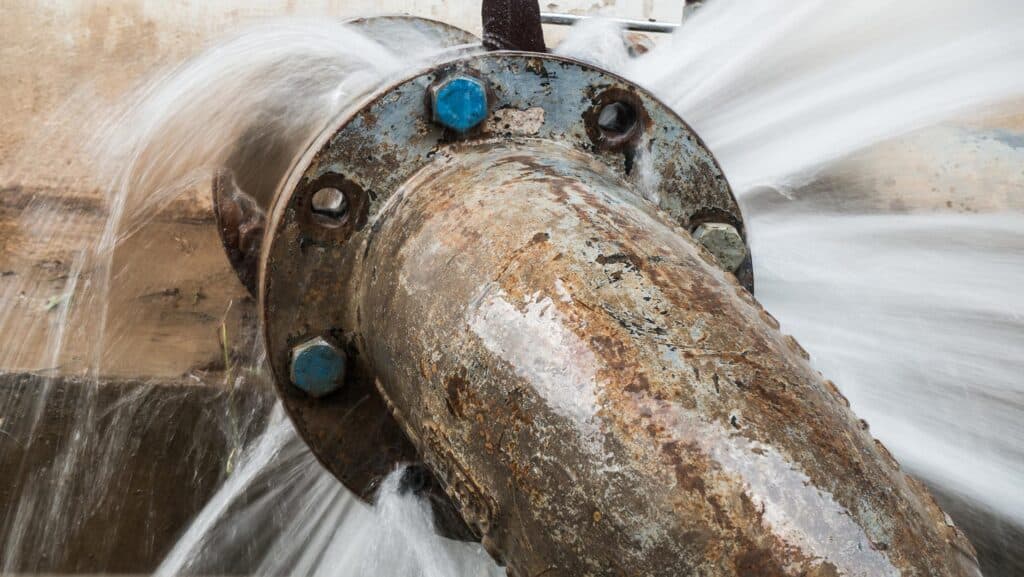
4. Preventing Burst Pipes
Winter brings picturesque landscapes and cozy moments, but it also ushers in the season of frozen pipes, which can turn picturesque into problematic. Preventing burst pipes should be a top priority when preparing for winter. Here is a comprehensive guide to keep your plumbing intact.
4.1. Insulate Exposed Pipes
Exposed pipes are the most vulnerable to freezing. Use pipe insulation or heat cables to wrap around these pipes. This extra layer of protection provides insulation, reducing the risk of freezing and bursting.
4.2. Seal Cracks and Gaps
Inspect the areas around your pipes for any cracks or gaps. Seal them with caulk or insulation to prevent cold air from infiltrating and freezing the pipes. Common areas to check include the basement, crawl spaces, and the area around outdoor faucets.
4.3. Allow Faucets to Drip
On those bitter cold nights, allowing faucets to drip slightly can relieve pressure in the pipes, reducing the chances of bursting. A slow, steady drip is often enough to prevent freezing, especially for pipes on exterior walls.
4.4. Keep Cabinet Doors Ajar
For sinks located against exterior walls, open the cabinet doors to allow warm air from your home to reach the pipes. This simple step can make a significant difference in preventing pipe freezing.
4.5. Disconnect and Drain Outdoor Hoses
Before winter’s chill sets in, disconnect all outdoor hoses and drain them. Store them indoors to prevent damage from freezing. Leaving hoses connected can lead to ice forming in the faucets and pipes, potentially causing burst pipes.
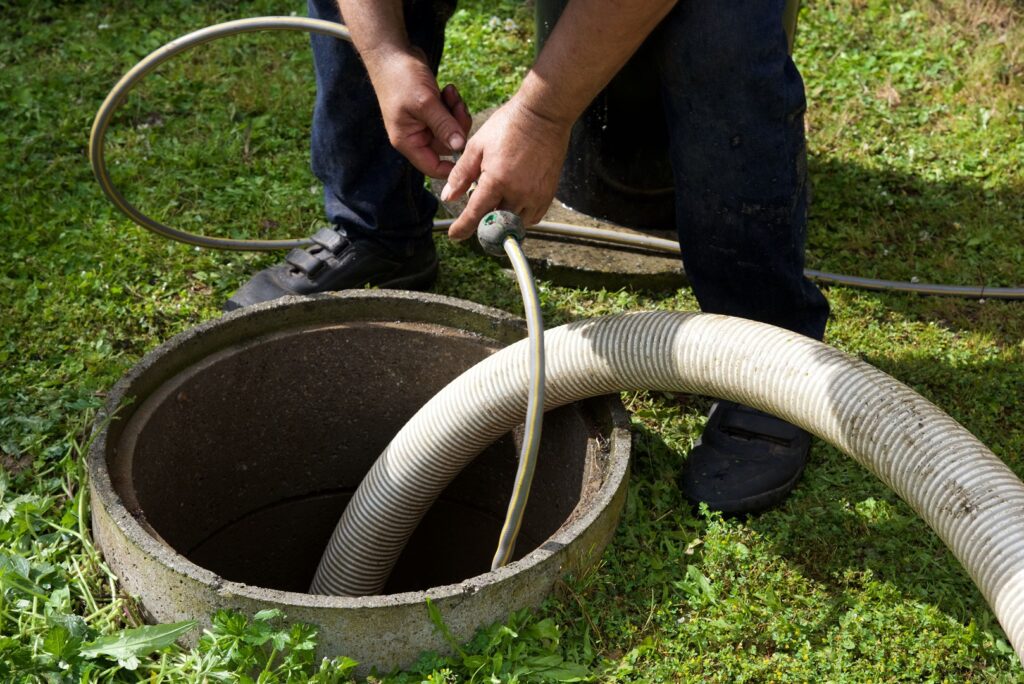
5. Winterizing Your Septic System
As you winterize your home’s plumbing, do not forget about your septic system. Neglecting it can lead to costly repairs. Here is how to ensure your septic system stays trouble-free throughout the winter.
5.1. Schedule a Professional Inspection
Before winter arrives, schedule a septic system inspection with a professional. They can identify any issues that need attention and advise you on the best course of action.
5.2. Pump the Septic Tank
It is essential to pump your septic tank before winter to ensure it has enough capacity to handle wastewater during the season. An empty or partially empty tank is less likely to freeze and crack.
5.3. Insulate Exposed Pipes
Just like your home’s plumbing, exposed septic system pipes should be insulated. This helps prevent freezing and potential damage.
5.4. Minimize Water Usage
Be conscious of water usage during the winter. Excessive water going into the septic system can increase the risk of freezing. Fix any leaks promptly, and consider upgrading to water-saving appliances if necessary.
5.5. Use Additives with Caution
While some septic tank additives claim to prevent freezing, use them with caution. They may not be effective, and the wrong additives could harm your system. Consult with a professional before using any additives.
By following these steps for preventing burst pipes and winterizing your septic system, you can enjoy a trouble-free winter without the worry of plumbing problems.
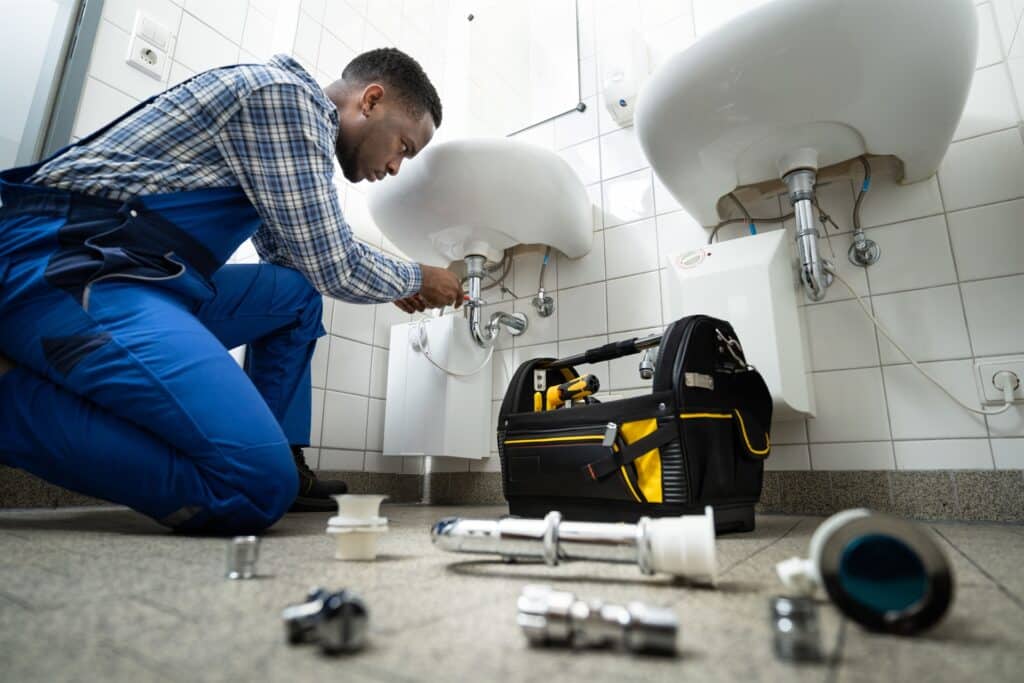
6. Checking for Leaks
When preparing your plumbing for the winter, one of the most crucial steps is to check for any leaks. Leaks can be a source of significant trouble during the cold months. Here is a detailed breakdown of how to go about it:
6.1. Inspect Faucets and Fixtures
Begin your leak check by examining all faucets and fixtures in and around your home. Look for any signs of dripping or pooling water. Even a small, seemingly inconsequential leak can turn into a major issue when temperatures drop.
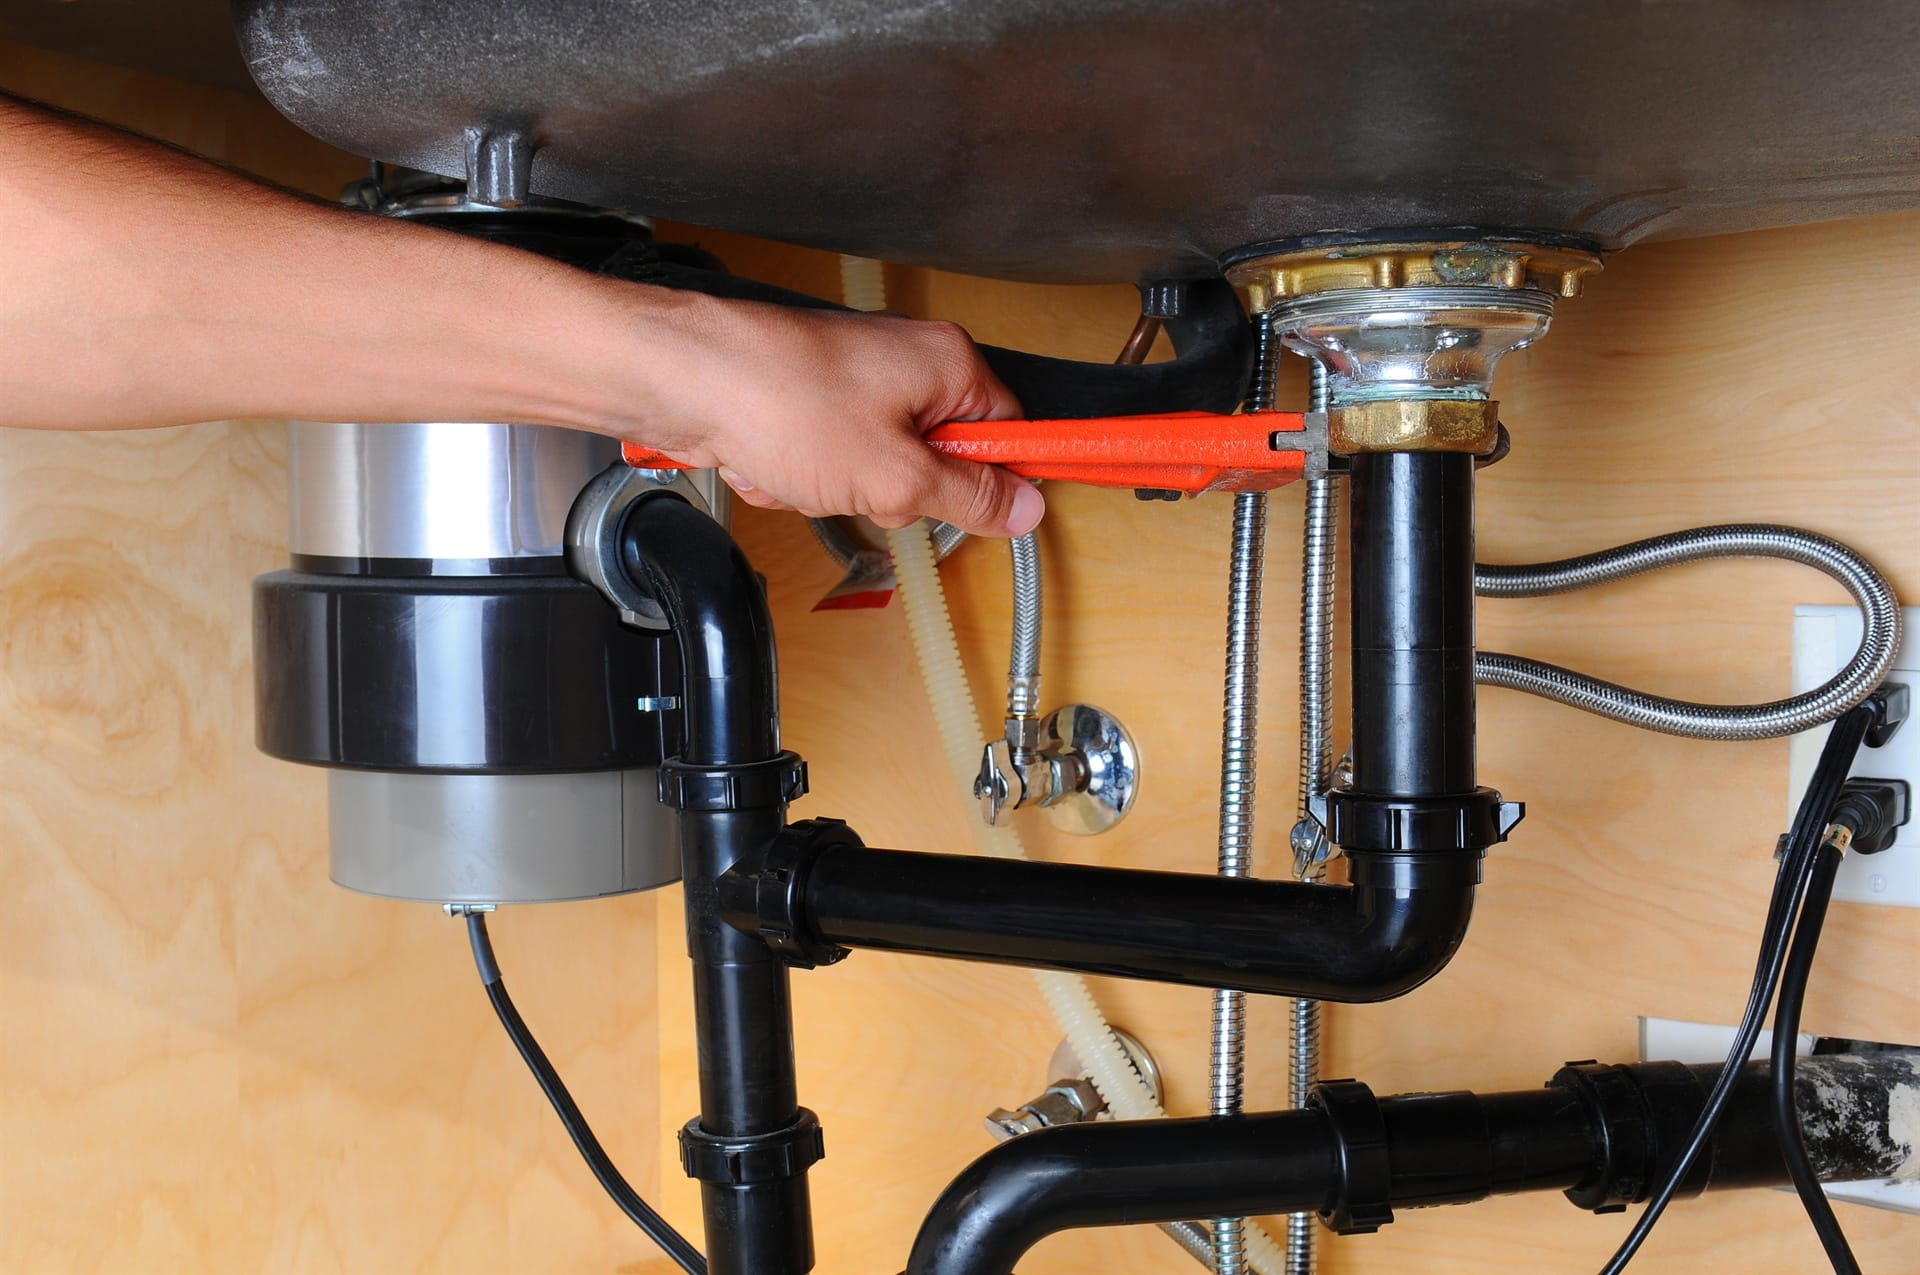
6.2. Check Supply Lines
Inspect the supply lines to your sinks, toilets, and appliances. These lines are often prone to leakage. Ensure there are no visible signs of water seepage or damage. If you notice any issues, it is essential to address them promptly.
6.3. Examine Water Heater and Boiler
Leaky water heaters and boilers can be a nightmare in winter. Check around the base of these appliances for any signs of moisture. If you detect even a minor leak, it is advisable to call in plumbing services to evaluate and fix the problem.
6.4. Outdoor Faucets and Hoses
Do not forget to check your outdoor faucets and hoses. Disconnect hoses, drain them thoroughly, and store them in a sheltered place for the winter. Shut off the outdoor water supply and ensure the faucet is completely dry to prevent freezing.
6.5. Foundation and Crawl Spaces
Check the foundation and crawl spaces for any signs of moisture or water accumulation. This is especially important if your plumbing runs through these areas. Leaks here can be challenging to detect but may cause severe damage over time.
Conclusion
In conclusion, winterizing your plumbing is an essential task to ensure a trouble-free season. By checking for leaks and addressing them promptly, you can prevent costly and inconvenient plumbing issues during the colder months. To recap, be thorough in your inspection, from faucets and fixtures to supply lines, water heaters, and outdoor plumbing elements. Do not forget the often-overlooked areas like the foundation and crawl spaces.
Remember, when it comes to plumbing, a proactive approach to maintenance is always more convenient and cost-effective than dealing with emergency repairs in the dead of winter. So, take these essential steps, or consider hiring professional plumbing services, to safeguard your plumbing system this winter.