Wrench It Up > Academy > DIY > DIY Bathroom Remodel: How To Install A Tub Spout In 5 Easy Steps?

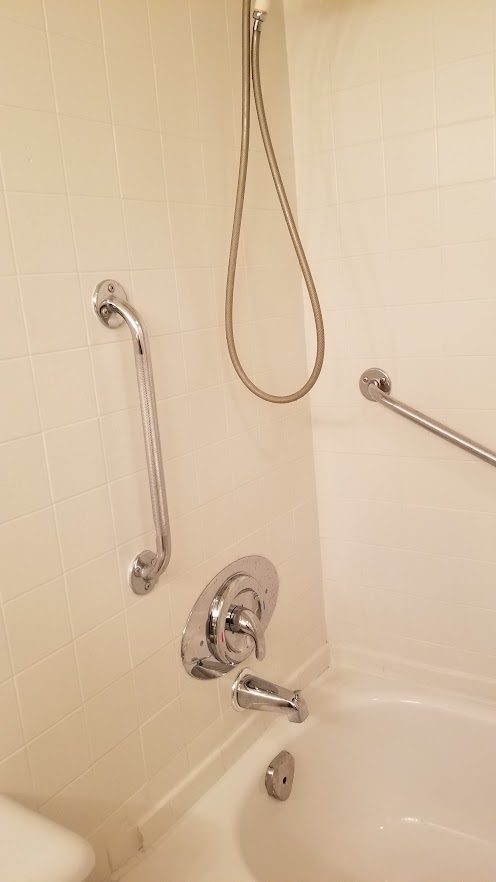
Installing a tub spout can be an easy and affordable DIY project that can give your bathroom a fresh new look. In this blog post, we will guide you through the process of installing a tub spout in just 5 easy steps.
Step 1: Gather Your Tools and Materials Before you start the installation process, make sure you have all the necessary tools and materials. You will need a new tub spout, Teflon tape, a pipe wrench, pliers, and a screwdriver.
Step 2: Remove the Old Tub Spout The first step in the installation process is to remove the old tub spout. This is usually done by unscrewing the spout counter clockwise. You can use pliers or a pipe wrench if it is difficult to remove.
Step 3: Apply Teflon Tape Next; you will need to apply Teflon tape to the threads on the water pipe. This will help prevent leaks and ensure a tight seal. Wrap the tape around the threads in a clockwise direction.
Step 4: Install the New Tub Spout Now it is time to install the new tub spout. Simply slide the spout over the water pipe and screw it on clockwise. Use a pipe wrench or pliers to tighten the spout, but be careful not to over tighten it, as this can cause damage.
Step 5: Test for Leaks Finally, turn on the water and test the new tub spout for leaks. If you notice any leaks, tighten the spout a little more and retest. Once you are confident that there are no leaks, you are done!
If you may need to call a professional plumber in Toronto, we are here to help. Just give us a call now!
Wrench It Up – WIN YOUR HEART!
* By submission, you agree to receive email marketing from Wrench It Up plumbing and mechanical regarding our products and services.
If you are in need of an emergency plumbing service, please directly call us at 416-800-5050. We are 24/7 available throughout the year.