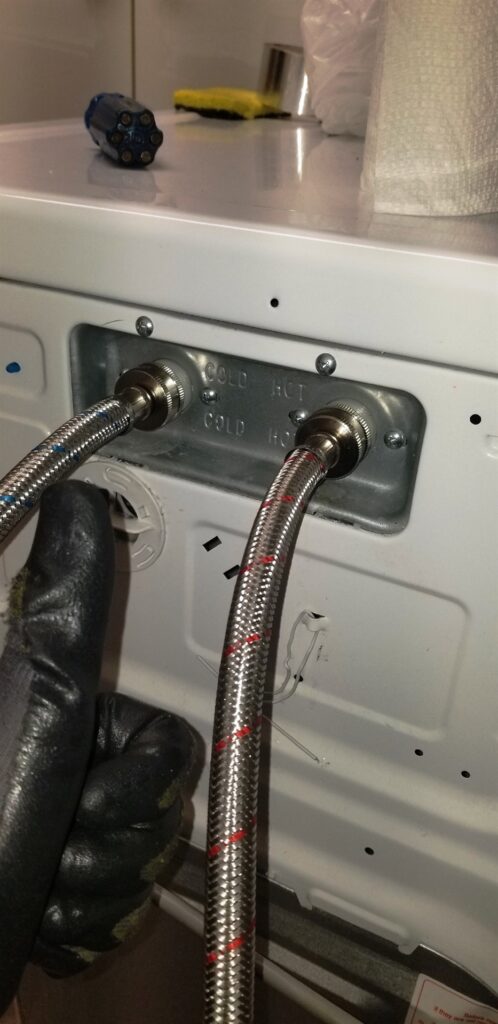
Once the old supply hose is removed, it Is time to install the new one.
First, ensure the connections are facing in the right direction and that they are properly secured. For each connection, attach a washer first, and then insert the nut onto the threaded end of each connection. Then gently hand-tighten both nuts until you can no longer turn them with your fingers. Do not tighten beyond this point, as you could cause damage to the hose.
Next, wrap a layer of plumber’s tape around each fitting before connecting the supply line. This will help prevent leaks and ensure that the connection is strong and secure. Insert each end of the hose into its respective fitting and tighten the nuts until they cannot turn any further. Then turn on your water supply and check for leaks. If you detect a drip, simply re-tighten the nut slightly to stop it.
Finally, replace the laundry machine‘s feet to make sure that the appliance is secure and stable. This will help prevent strain on the connection, ensuring that it holds up over time.
Now the new supply hose is installed and ready to be used! With proper installation, maintenance and care, this hose should last for many years of reliable service. Enjoy the convenience of having a working laundry machine again!
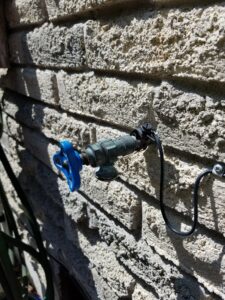
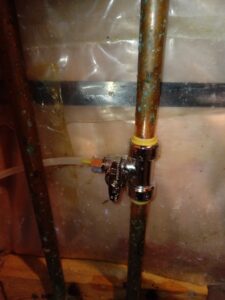
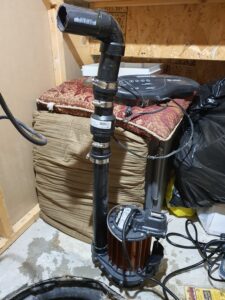
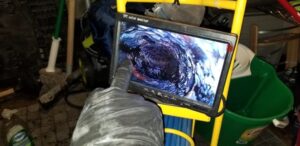
If you may need to call a professional plumber in Toronto, we are here to help.
If you may need to call a professional plumber in Toronto, we are here to help. Just give us a call now!