If you have a leaking p-trap drain assembly, do not worry, as fixing it is usually a straightforward process that you can do yourself. Here are the steps to follow:
1.Turn off the water supply to the affected drain. You can usually do this by turning the valve located under the sink.
2. Place a bucket under the p-trap to catch any water that may still be in the trap. This will prevent any water from spilling onto the floor.
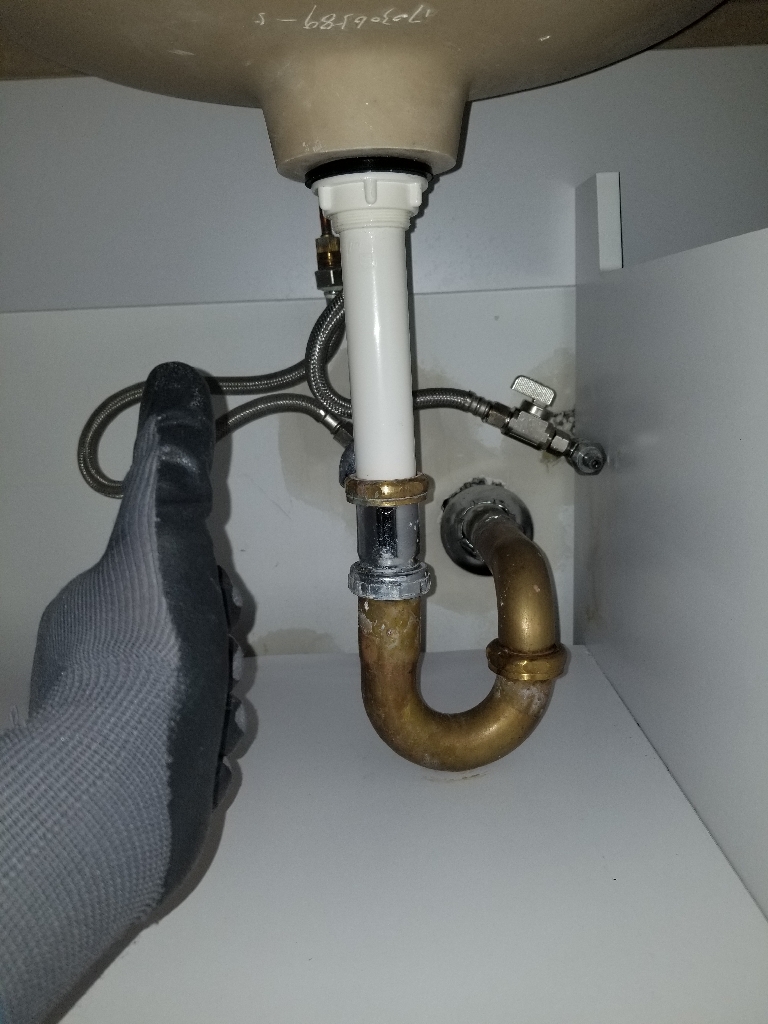
3. Loosen the slip nuts that hold the p-trap in place. Use a pair of pliers or a wrench to do this.
4. Remove the p-trap and inspect it for any damage, such as cracks or corrosion. If you notice any damage, you will need to replace the p-trap.
5. Clean the slip nuts and the threads of the drain pipe and tailpiece. Use a wire brush or a cloth to remove any dirt or debris.
6. Apply plumber’s tape to the threads of the drain pipe and tailpiece. This will help create a better seal and prevent leaks.
7. Install a new washer and gasket onto the slip nuts. Make sure they are properly aligned and tightened.
8. Reinstall the p-trap by sliding it onto the and tailpiece. Tighten the slip nuts by hand and then use pliers or a wrench to tighten them further.
9.Turn on the water supply and check for leaks. If there are no leaks, you have successfully fixed your leaking p-trap drain assembly.
By following these steps, you can easily fix a leaking p-trap drain assembly and prevent water damage and unpleasant odors in your home.
If you may need to call a professional plumber in Toronto, we are here to help. Just give us a call now!